Amazing Pear Preserves Recipe: 1 Sweet Memory from Grandma
There s something truly magical about turning simple ingredients into something extraordinary. For me, that magic often happens with fruit, sugar, and a little bit of time. I remember my grandmother, humming softly in her kitchen, transforming mountains of fresh pears into glistening jars of pear preserves. The aroma alone was pure comfort. It filled every corner of the house.
She taught me that making preserves isn t just about following a recipe. It is about capturing a moment, a season, in a jar. Every time I open a jar of homemade preserves, I m instantly back in her kitchen. It is a taste of home, a hug in a spoonful.
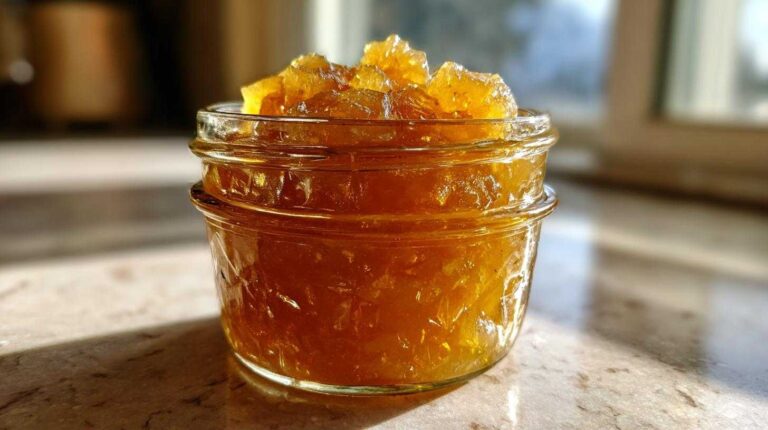
That s why I m so excited to share this old-fashioned pear preserves recipe with you. It is simple, really. You don t need fancy equipment or special skills. Just some beautiful pears and a desire to create something delicious. This recipe yields a chunky, flavorful preserve. It is perfect for spreading on toast or stirring into yogurt. It also makes a wonderful gift. At , we believe cooking should be joyful and accessible. This pear preserves recipe certainly fits that idea. I know you ll love it!
Why You ll Love This Old-Fashioned Pear Preserves Recipe
There are so many reasons to fall in love with this pear preserves recipe. It is a true kitchen classic. You ll find it incredibly rewarding. This recipe captures the pure essence of fresh pears. It creates a preserve that is rich and wonderfully chunky. It is perfect for breakfast or dessert. Plus, it fills your home with the most amazing smells. I just adore making it!
- Simple ingredients, incredible flavor.
- A satisfying, hands-on cooking experience.
- Perfect for gifting to friends and family.
- No artificial stuff, just pure goodness.
- Enjoy the taste of summer all year long.
The Joy of Homemade Pear Preserves
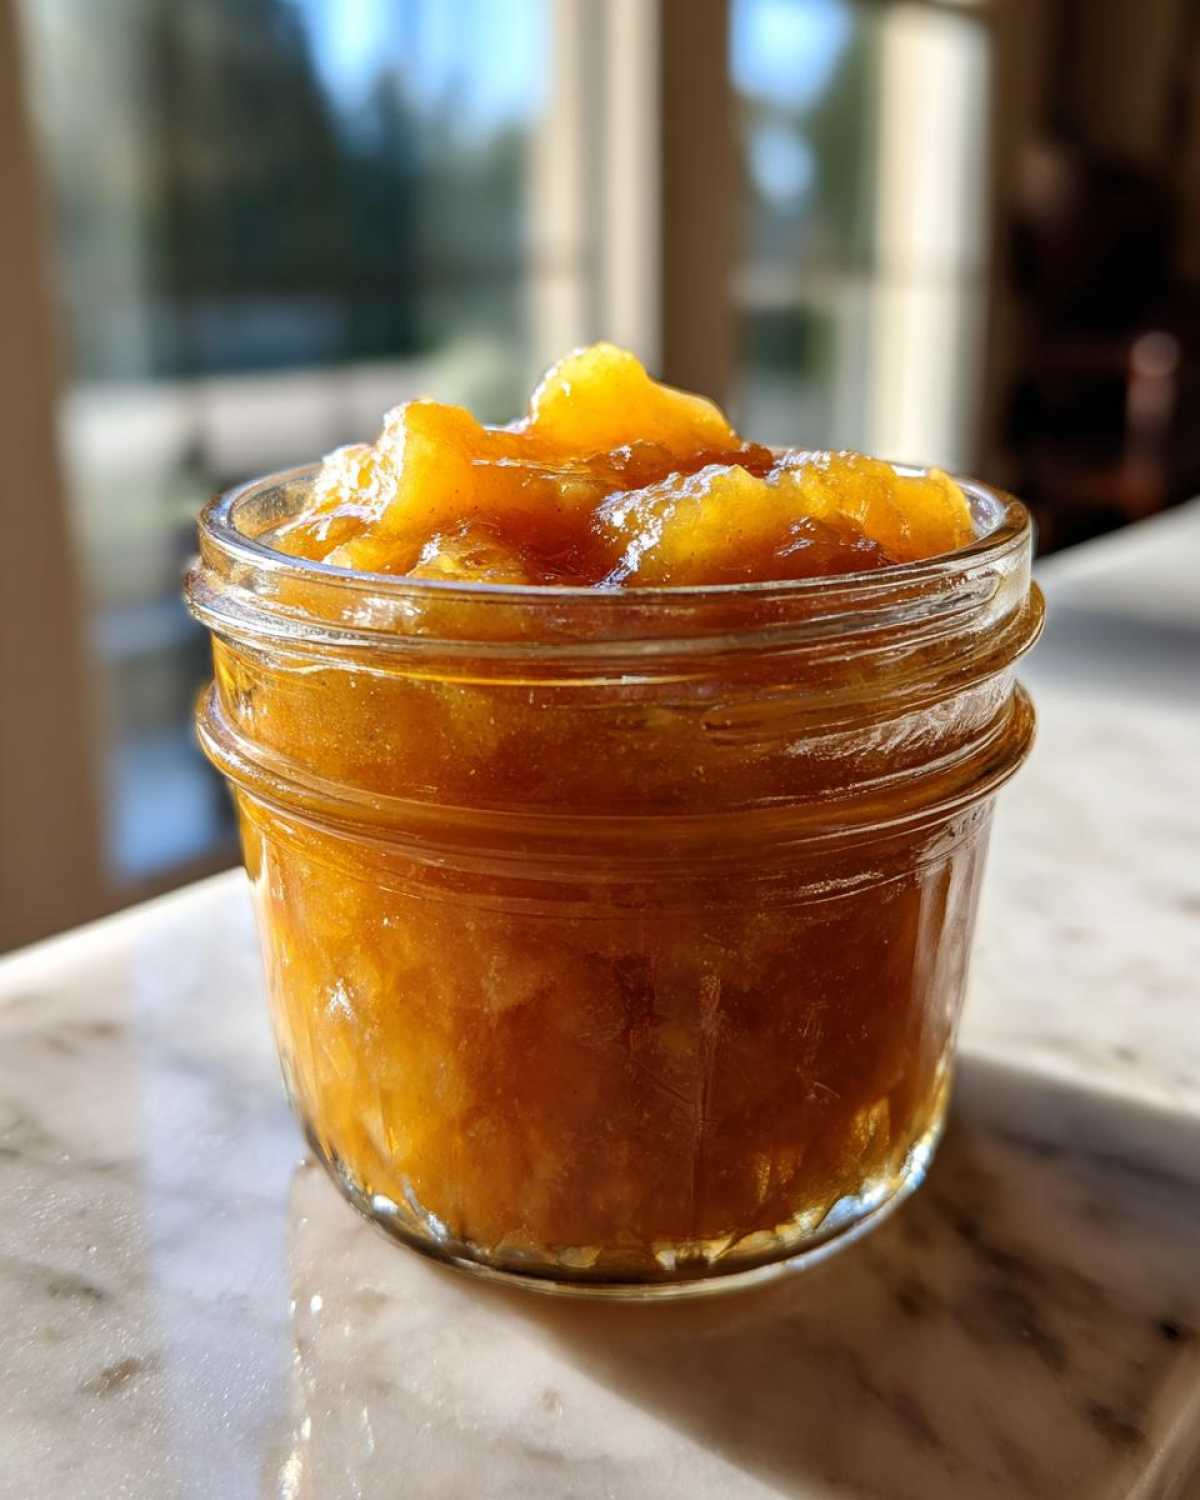
Making your own pear preserves is truly special. There s a deep satisfaction in it. The taste simply can t be beat. Store-bought versions just don t compare. My homemade pear preserves have so much more flavor. You control every single ingredient. It is a labor of love that you can taste. This recipe brings so much joy!
Gathering Your Ingredients for Pear Preserves Recipe
Okay, let s talk ingredients! For this pear preserves recipe, quality really matters. Starting with good, fresh produce makes all the difference. You don t need a huge list of items. Each one plays an important part. I always make sure everything is ready before I start cooking. This makes the whole process smooth and fun. Here s what you ll need for our delicious preserves:
- 8 cups firm, ripe pears, peeled, cored, and chopped
- 6 cups granulated sugar
- 1/2 cup water
- 2 lemons, juiced
- 1 teaspoon ground ginger (optional)
Essential Pears for Your Preserves Recipe
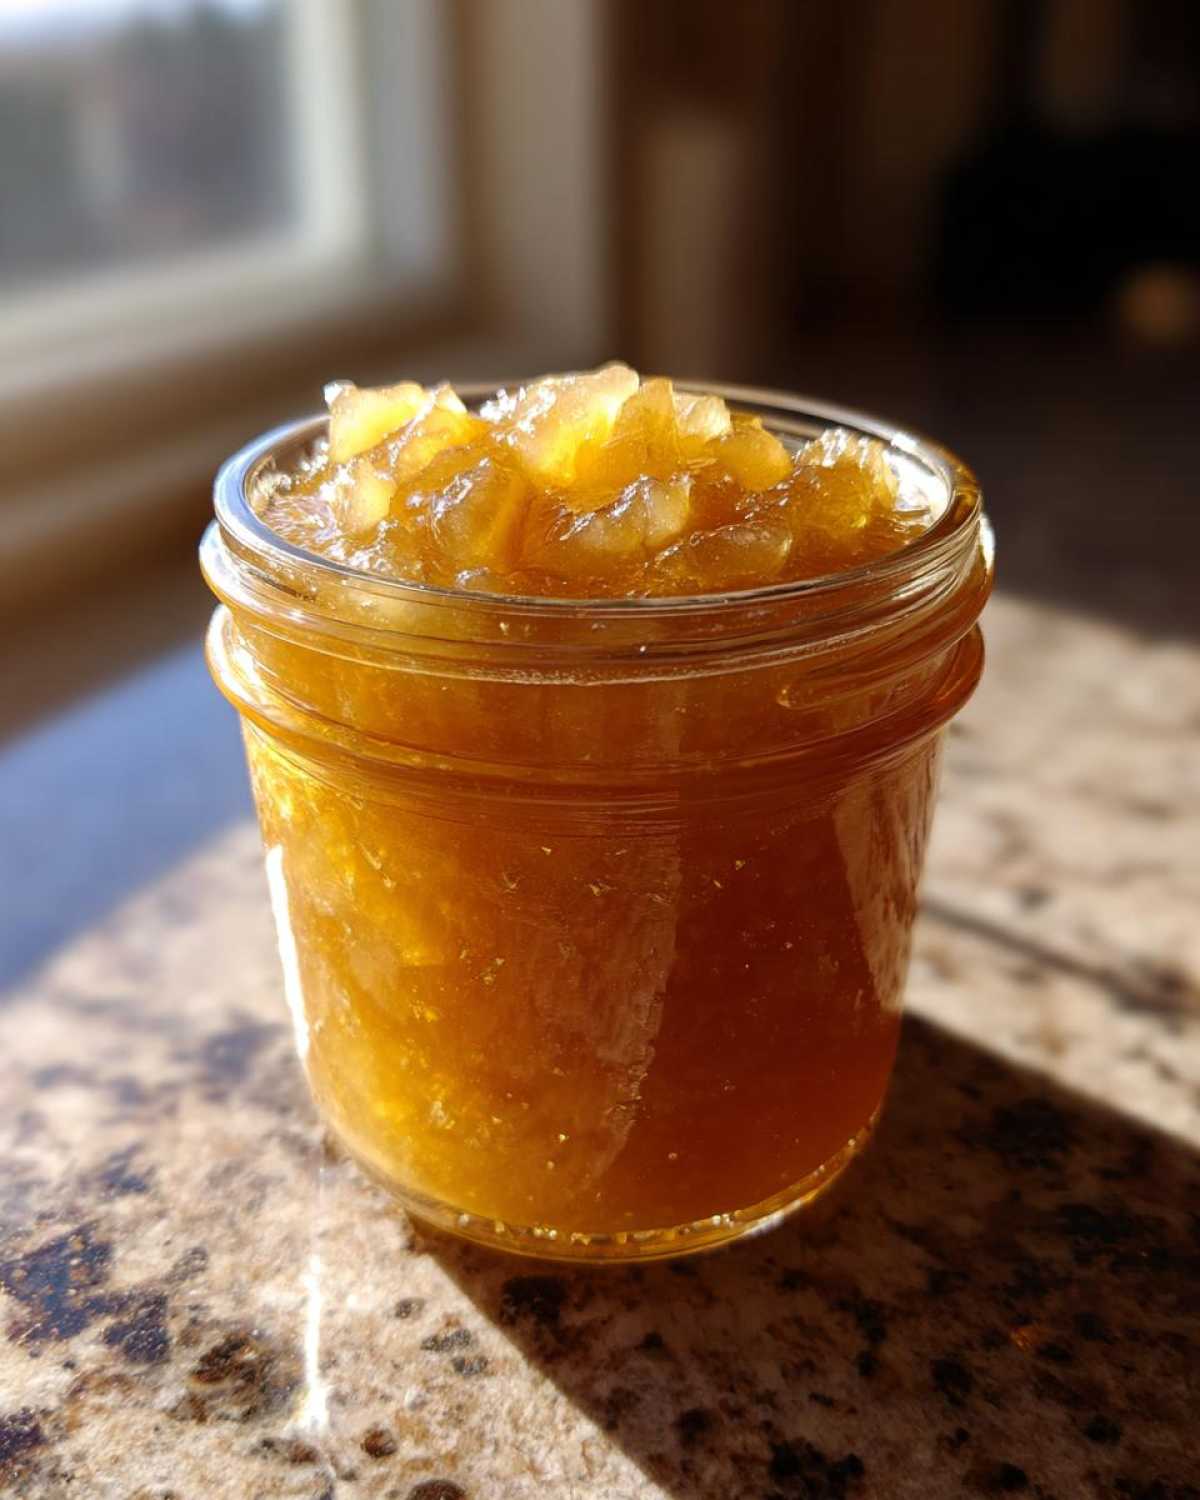
The type of pear really matters here. I always pick firm, ripe pears. They hold their shape better during cooking. Make sure they are peeled, cored, and chopped. This creates those lovely chunky preserves we love!
Step-by-Step Guide to Your Pear Preserves Recipe
Now for the fun part: making the pear preserves! This process is straightforward. Just follow these steps. You ll have beautiful, homemade preserves. I ve broken it down for you. This ensures every batch is perfect. It is truly a rewarding cooking experience. You will love watching the pears transform. Let s get cooking!
Preparing the Pears for Your Preserves Recipe
First, grab a large, heavy pot. A Dutch oven works great too. Add your chopped pears, sugar, water, and lemon juice. If you like, add the ground ginger now. Stir everything together really well. Let this mixture sit for at least 30 minutes. I sometimes let it sit for a few hours. This helps the pears release their juices. It s a key first step!
Simmering Your Pear Preserves Recipe to Perfection
Place your pot over medium heat. Bring the mixture to a gentle boil. Remember to stir it often to prevent sticking. Once it boils, lower the heat to low. Let it simmer, uncovered, for about 1.5 to 2 hours. The goal is for the pears to become translucent. The preserves should thicken up nicely. Stir frequently, especially as it gets thicker. This stops it from scorching. To check if it s done, put a small spoonful on a chilled plate. Let it cool for a minute. Then, push it with your finger. If it wrinkles, it s ready! That s my favorite test.
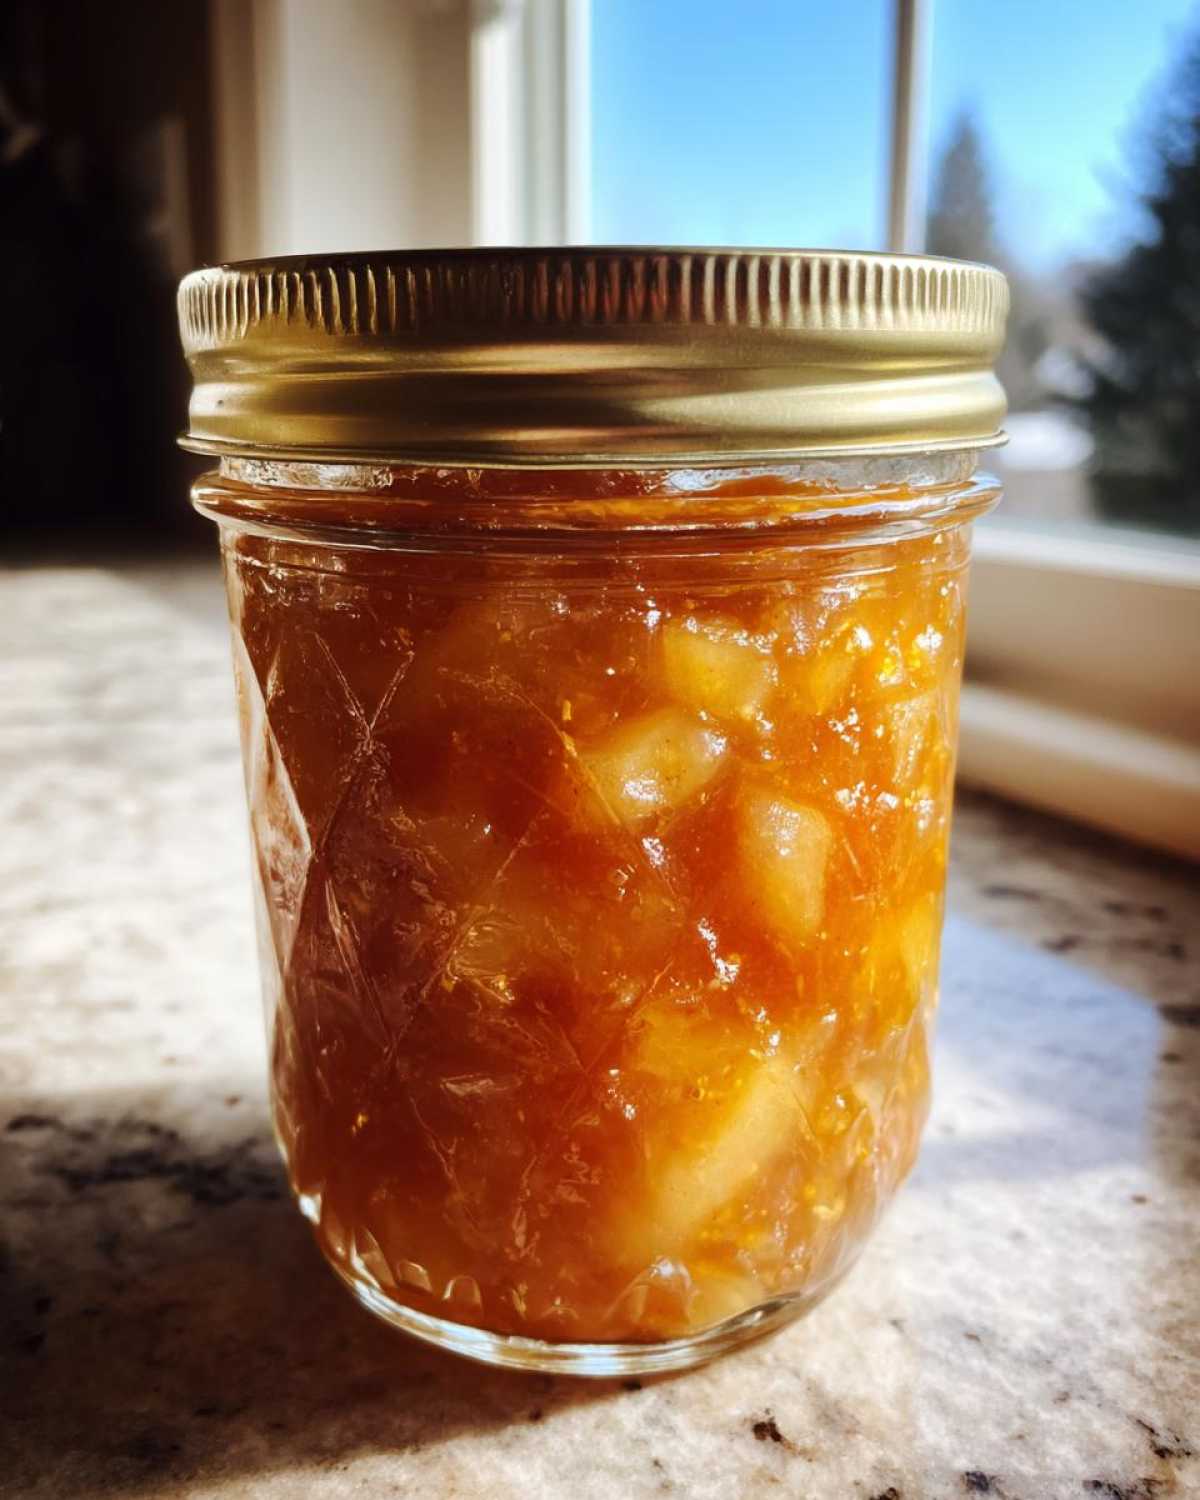
Canning Your Homemade Pear Preserves
Once your pear preserves are ready, it s time for canning. This locks in all that delicious flavor. Carefully ladle the hot preserves into sterilized canning jars. Leave 1/4 inch of space at the top. This is called headspace. Wipe the jar rims clean. Center your lids on top. Screw on the bands until they are fingertip tight. Process the jars in a boiling water canner for 10 minutes. Adjust the time if you live at a higher altitude. Turn off the heat. Take off the canner lid. Let the jars sit in the hot water for 5 minutes. Then, remove them to a wire rack. Let them cool completely. After 24 hours, check the seals. Any jars that don t seal should go in the fridge. Eat those within 2 weeks.
Tips for Success with Your Pear Preserves Recipe
Making pear preserves is quite forgiving. Still, a few simple tips can truly elevate your results. I ve learned these over many batches. They help avoid common little issues. Always read through the entire recipe first. This helps you picture each step. It makes everything flow so much better. You ll feel more confident in the kitchen. Plus, it helps ensure delicious, perfectly set preserves every time.
Ingredient Notes and Substitutions for Pear Preserves
For the best pear preserves, use firm, slightly under-ripe pears. They hold their shape better. You can adjust the sugar amount. Sweeter pears might need less. Feel free to experiment with spices! A touch of cinnamon or nutmeg is lovely. Or try a hint of vanilla bean. It adds another layer of flavor. It s all about what you love!
Common Questions About Pear Preserves Recipe
I often get questions about making pear preserves. It s totally normal to wonder about things. Here are some of the most common ones I hear. I hope these answers help you feel confident. Making pear preserves should be fun. Don t hesitate to ask if you have more questions!
Can I Use Any Type of Pear for This Pear Preserves Recipe?
For this pear preserves recipe, I recommend firm pears. Bartlett or Bosc pears work really well. Softer pears can turn mushy. You want those lovely chunky bits. Firm pears help you achieve that perfect texture.
How Do I Know When My Pear Preserves Recipe Is Done?
The wrinkle test is my favorite. Spoon a little hot preserve onto a cold plate. Let it cool for a minute. Then, push it gently with your finger. If the surface wrinkles, it s ready! The preserves should also look translucent. They should cling to a spoon too.
How Long Does This Pear Preserves Recipe Last?
Properly sealed jars of this pear preserves recipe last. Store them in a cool, dark place. They will be good for up to one year. Any unsealed jars go in the fridge. Eat those within two weeks. Enjoy your homemade pear preserves!
Storing Your Delicious Pear Preserves
Once your pear preserves have cooled, store the sealed jars. A cool, dark pantry is perfect. They will keep for up to a year. For any jars that didn t seal, don t worry! Just pop them in the refrigerator. Make sure to enjoy those within two weeks. This simple storage ensures your pear preserves stay fresh. It lets you savor that homemade goodness later!

Estimated Nutritional Information
This section provides estimated nutritional data for this pear preserves recipe. It includes typical values like Calories, Fat, Protein, and Carbs. Please remember these are estimates. Actual values can vary slightly. Enjoy your delicious homemade treat!
Share Your Pear Preserves Recipe Success
I would absolutely love to hear from you! Have you tried this pear preserves recipe? What did you think? Please share your experience in the comments below. Your feedback means so much to me. It helps our whole family. Don t forget to rate the recipe too. Happy preserving, everyone!