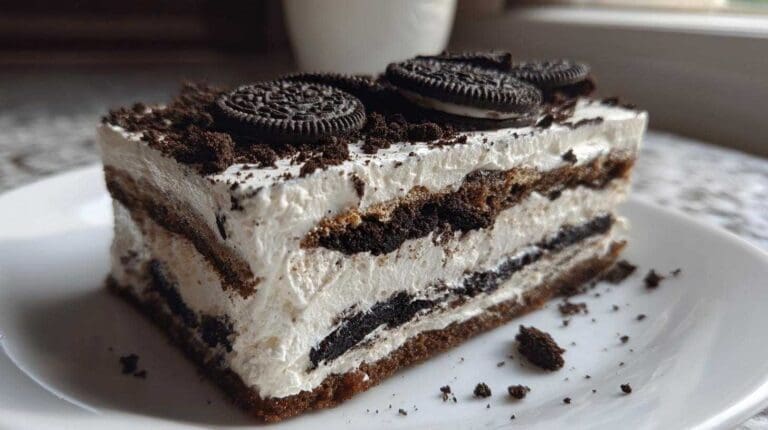
Layered Oreo Icebox Cake (No-Bake) is Pure Bliss in 4 Simple Steps
Oh, this takes me right back! It s honestly one of the easiest, most satisfying desserts I know how to make. Growing up in our family kitchen, dessert didn t always mean hours over a hot oven. Sometimes, the best moments were the simple ones, like pulling something cold and creamy from the fridge after dinner. This no-bake treat fits that feeling perfectly. It s the kind of recipe my grandmother would have loved quick, delicious, and made with simple ingredients you probably have handy. It feels like a little hug in dessert form, you know?
Why You ll Love This Layered Oreo Icebox Cake (No-Bake)
Let me tell you, this isn t just any old dessert. This is a total winner for so many reasons. It s become a go-to in my kitchen, especially when I need something sweet without a fuss.
- It s incredibly simple to put together. Seriously, if you can layer and spread, you can make this!
- No oven needed! Perfect for hot days or when you just don t feel like baking.
- That classic Oreo and cream flavor? Always a crowd-pleaser. It tastes like childhood.
- It s surprisingly quick to prepare the actual layers the hardest part is waiting for it to chill!
Simple Ingredients for Your Layered Oreo Icebox Cake (No-Bake)
One of the things I really adore about this is how few ingredients you actually need. We re talking about just four simple things! It feels like magic that something so delicious comes from so little.
Essential Items for This No-Bake Treat
You likely have most of these in your pantry or can grab them easily at any grocery store. We need a package of those iconic Oreo cookies, some heavy whipping cream for that luscious filling, a bit of powdered sugar to sweeten things up, and a splash of vanilla extract for that extra touch of flavor.

Equipment You ll Need
Good news! You don t need any fancy gadgets for this . Just a few basic things you likely already have in your kitchen will do the trick.
- A large mixing bowl for whipping the cream.
- An electric mixer (handheld or stand) makes whipping cream much easier.
- A 9Ã13 inch baking dish is perfect for layering everything up.
- A spatula or spoon for spreading the cream.
- A way to crush a few cookies a food processor or even a Ziploc bag and rolling pin works.
Crafting Your Layered Oreo Icebox Cake (No-Bake): Step-by-Step
Okay, let s get to the fun part actually making this ! It s incredibly straightforward, almost like playing with edible building blocks. Just follow these simple steps, and you ll be on your way to a delightful dessert.
Preparing the Layers
First, we need to get our cookie crumbs ready. Take about 10 of those yummy Oreos and crush them up into fine crumbs. I like to use my food processor for this, but putting them in a bag and using a rolling pin works great too! Set those aside for later. Now, grab your large bowl and your electric mixer. Pour in the cold heavy whipping cream, powdered sugar, and vanilla extract. Start mixing on a low speed, then gradually increase it. You re looking for stiff peaks that s when the cream holds its shape and doesn t flop over when you lift the beater.
Assembling the Layered Oreo Icebox Cake (No-Bake)
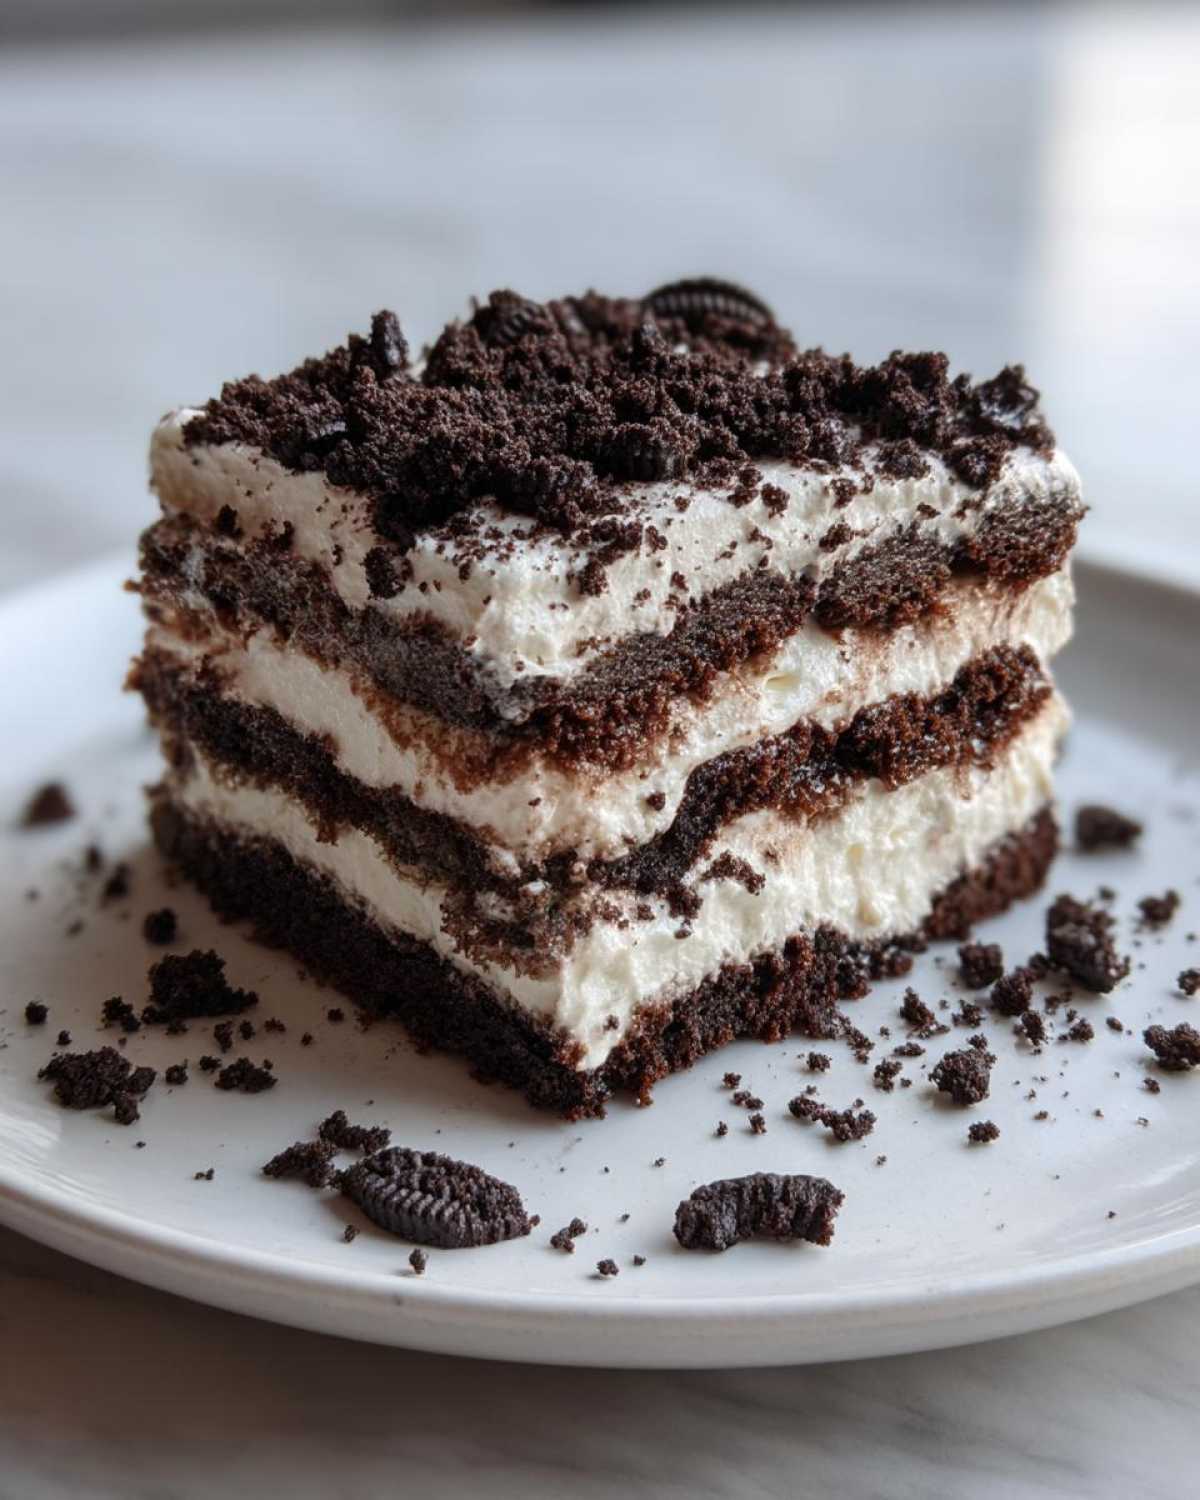
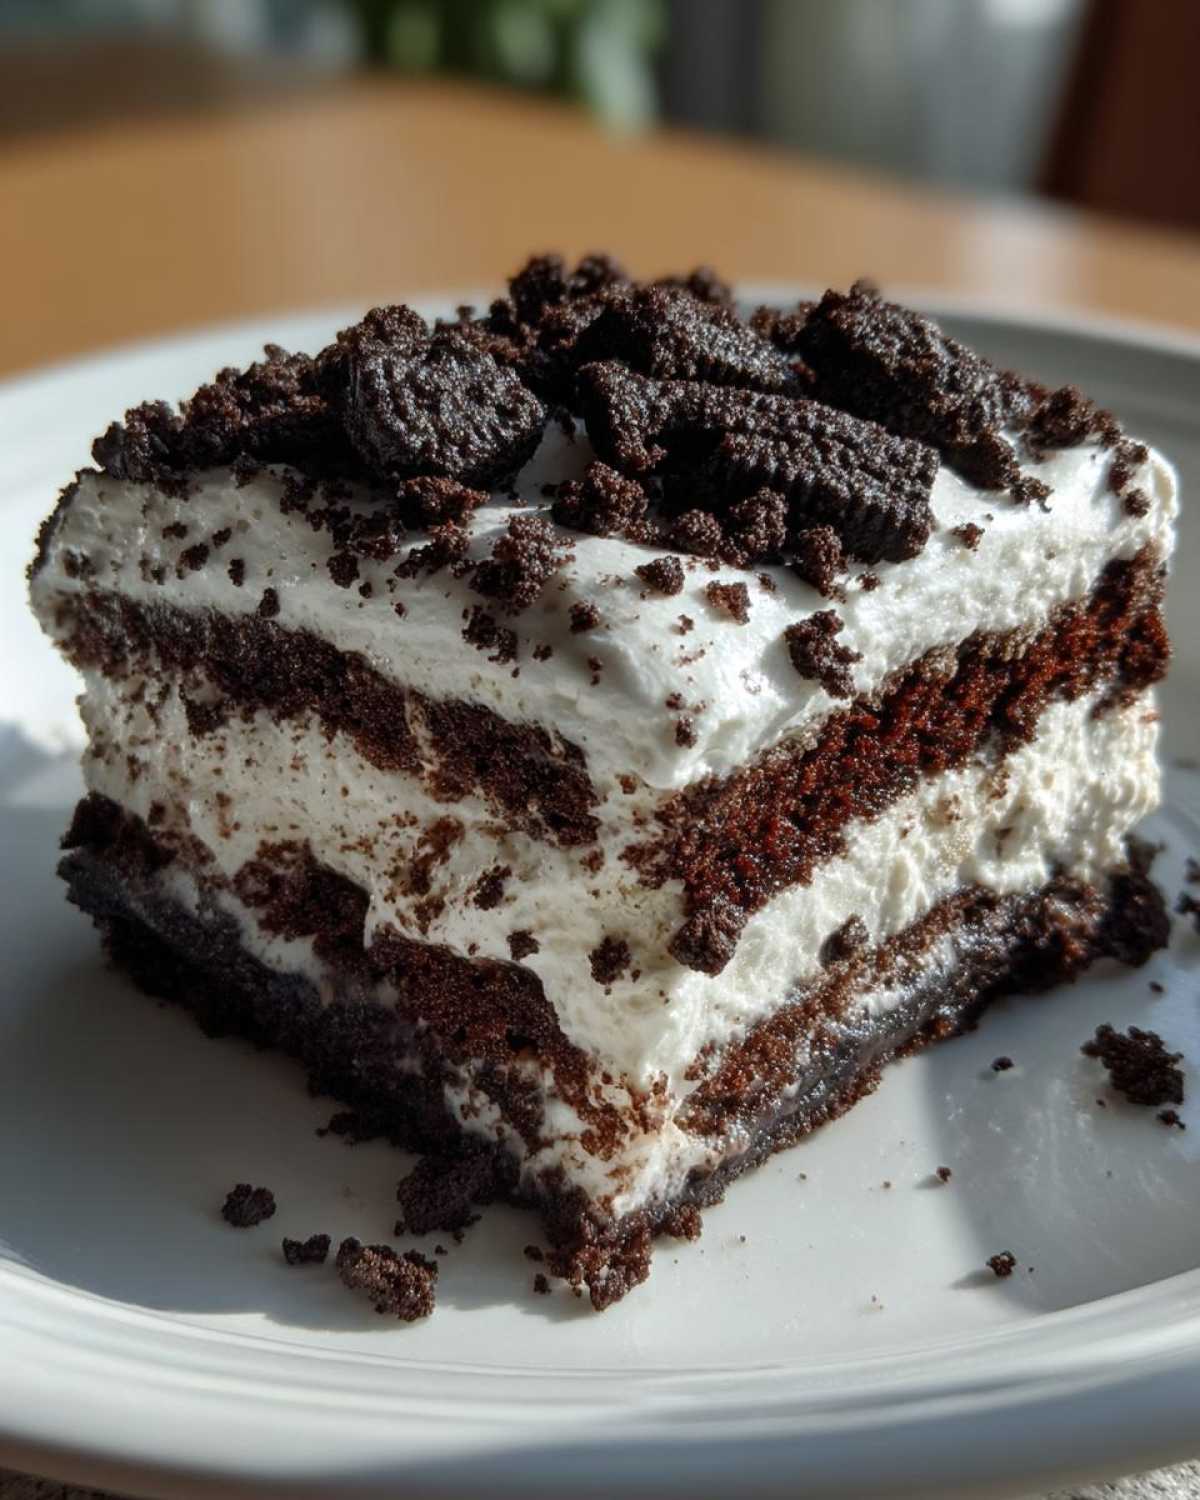
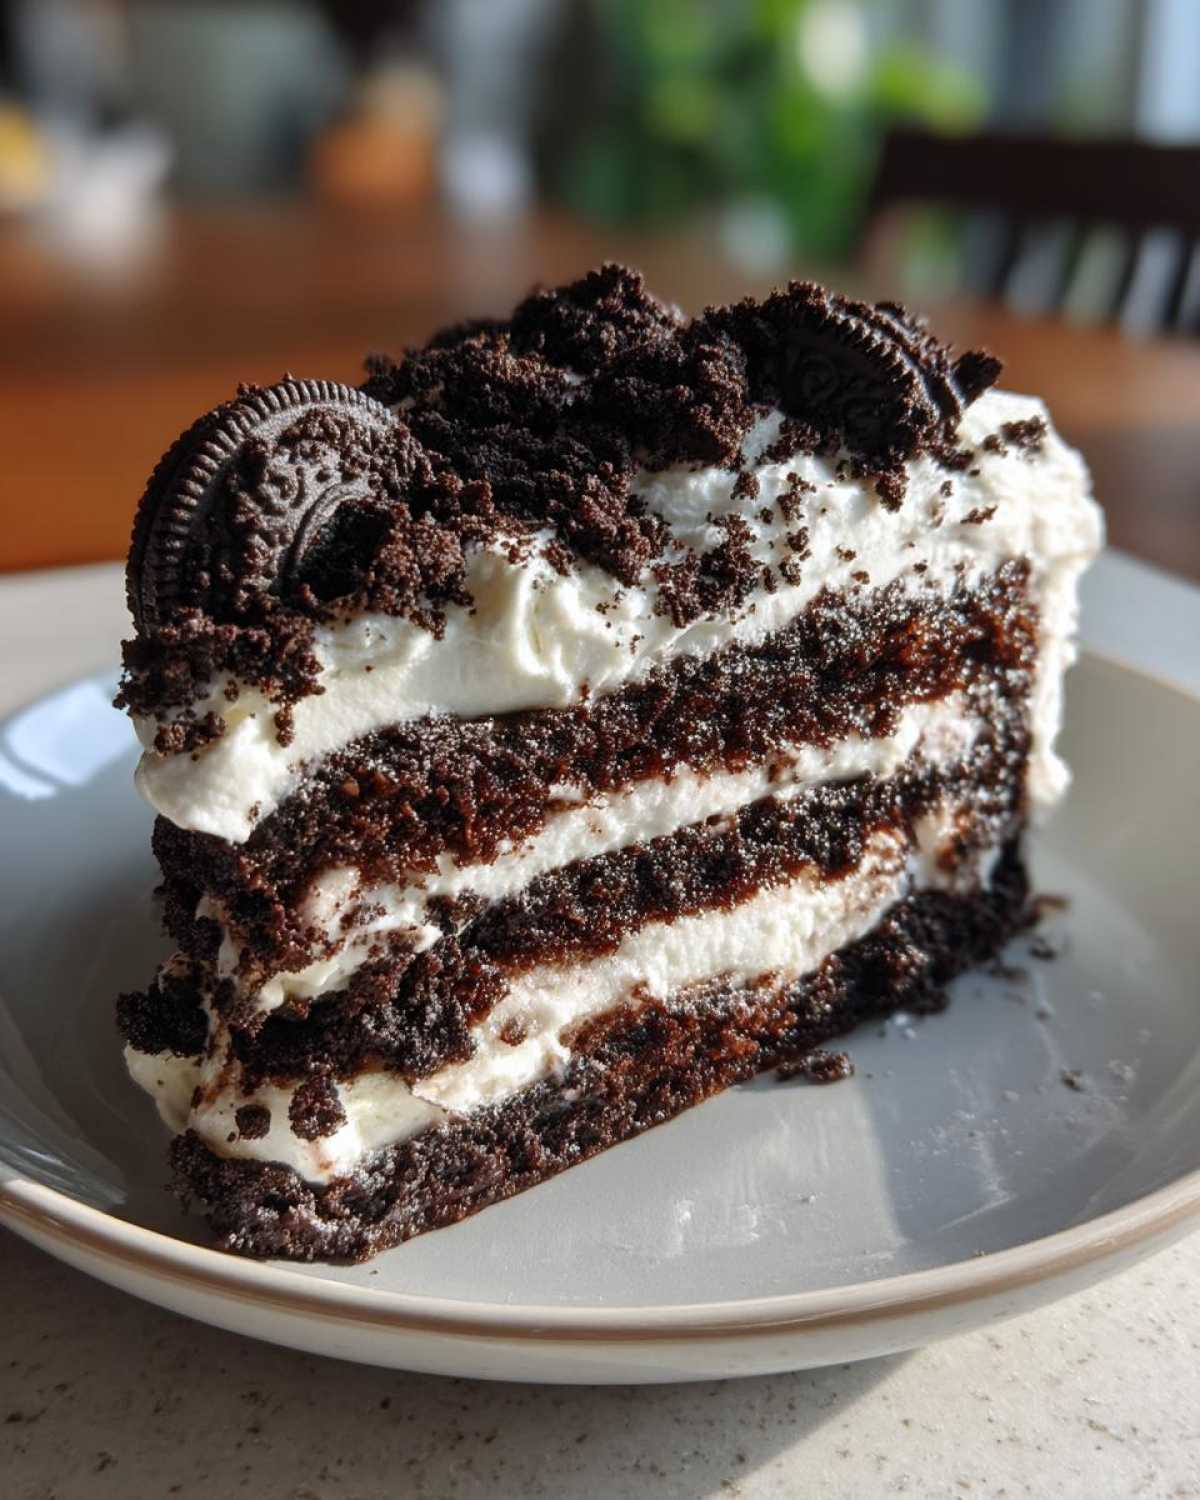
Now for the layering! This is where the magic happens. Get your 9Ã13 inch baking dish ready. Start by placing a single layer of whole Oreo cookies in the bottom. Don t worry if there are little gaps; the cream will fill them in. Next, carefully spread half of your whipped cream mixture evenly over that first cookie layer. Try to get it right to the edges. Add another layer of whole Oreos on top of the cream. Finally, spread the rest of the whipped cream over this second cookie layer, making it nice and smooth on top.
Chilling for the Perfect Layered Oreo Icebox Cake (No-Bake)
Almost done! The most important step for a fantastic is the chilling time. Cover the dish tightly with plastic wrap. Pop it into the refrigerator for at least 4 hours. This gives those cookies time to soften up from the moisture in the cream, making the cake slice beautifully. Honestly, overnight chilling is even better if you can wait!
Expert Tips for the Best Layered Oreo Icebox Cake (No-Bake)
Making this is pretty foolproof, but a few little tricks can make it even better. Make sure your heavy cream is really cold before you whip it; it whips up so much better that way! Don t rush the chilling time either. That s key to getting soft, cake-like cookies instead of crunchy ones. Want to switch it up? Try using Golden Oreos or adding a drizzle of chocolate syrup over each cream layer before adding the next cookies. You could even fold in some mini chocolate chips into the whipped cream for extra texture!
Ingredient Notes and Potential Swaps
Let s chat about the simple stars of this . Heavy whipping cream is really the best here for getting those stiff peaks and rich texture. You could try a whipped topping from a tub for an even quicker route, but the homemade whipped cream tastes so much better! For the powdered sugar, make sure it s sifted if it seems clumpy. And while classic Oreos are, well, classic, feel free to experiment with different Oreo flavors! Mint or peanut butter Oreos would be amazing swaps.
Frequently Asked Questions About Layered Oreo Icebox Cake (No-Bake)
I get asked a few things often about this simple . Here are some of the most common questions folks have when they re planning to make this easy dessert.
Can I Make This Layered Oreo Icebox Cake (No-Bake) Ahead of Time?
Absolutely! Making this no-bake icebox cake a day ahead is actually ideal. It gives the cookies plenty of time to soften up perfectly in the fridge.
How Long Does Layered Oreo Icebox Cake Last?
Properly stored in the refrigerator, your will stay delicious for about 3-4 days. Make sure it s covered tightly!
Can I Use Different Cookies in a Layered Icebox Cake?
Yes, definitely! While Oreos are classic for this no-bake layered dessert, you can absolutely use other wafer-style cookies or even graham crackers for a different twist.
Serving and Storing Your Layered Oreo Icebox Cake (No-Bake)
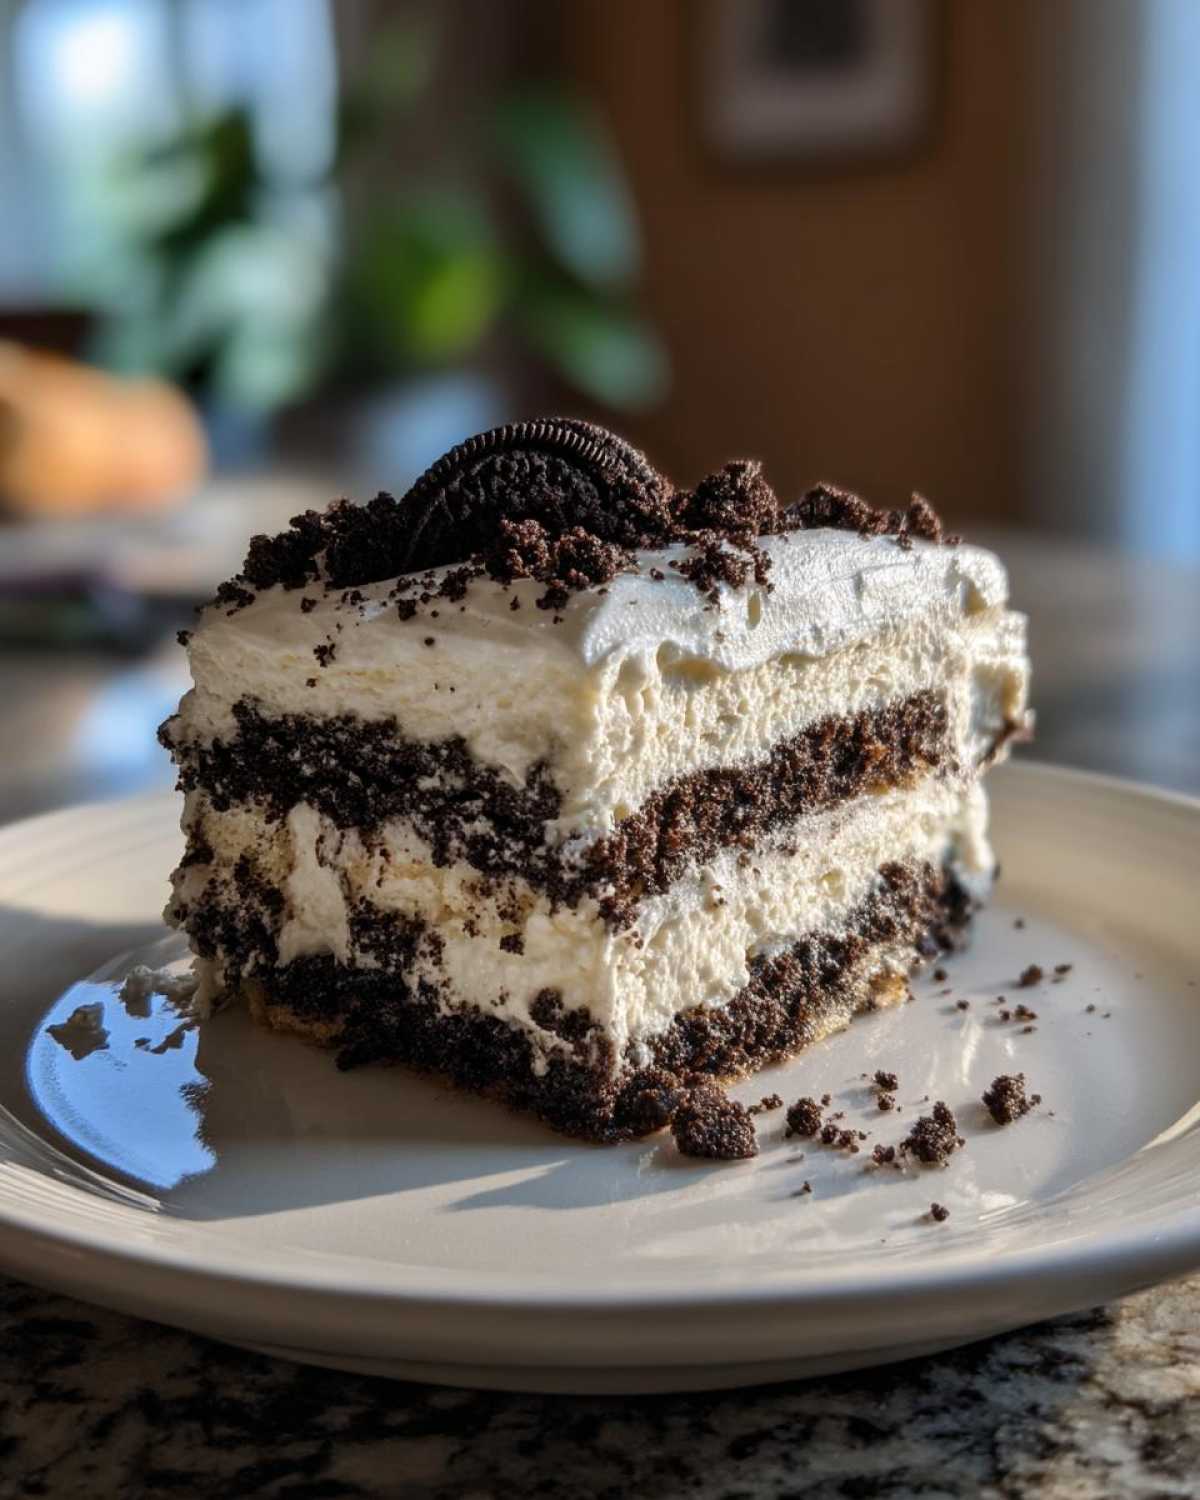
Once your is perfectly chilled, it s ready to slice and enjoy! I like to cut it into squares right in the dish. You can serve it as is, or add a little extra dollop of whipped cream or a sprinkle of those reserved cookie crumbs on top for a pretty finish. If you happen to have any leftovers (which is rare in my house!), just cover the dish tightly with plastic wrap or transfer slices to an airtight container. Keep it in the refrigerator, and it will be good for a few days. No need to reheat this one; it s best cold!
Estimated Nutritional Information
Just a quick note about the nutrition for this . The details I m sharing here are estimates. Things like the exact brand of Oreos or cream you use can change the numbers a bit. But this gives you a general idea of what you re getting per serving, like calories, fat, protein, and carbs.
Share Your Layered Oreo Icebox Cake (No-Bake)!
Well, there you have it! Your very own . I really hope you give this recipe a try. If you do, please come back and let me know how it turned out! Did you love it? Did you try a fun variation? I d absolutely love to hear about your experience. Don t forget to rate the recipe too!