Horrific Witch Finger Cookies: 1 Simple Step to Spooky Fun
Halloween is my favorite time of year. There s just something magical about it. The crisp air, the spooky decorations, and, of course, the treats! Nothing beats homemade goodies for a festive touch. I love seeing kids faces light up when they spot something truly unique. And that s where these amazing Witch Finger Cookies come in.
They are the ultimate eerie delight for any Halloween party. These aren t just any cookies. They look exactly like gnarled, spooky fingers. It s truly a fun and easy way to get into the spirit of the season. Plus, they are so simple to make, even for beginner bakers!
I remember the first time I made Witch Finger Cookies. It was for a small Halloween gathering with my family. My niece, Alara, was just tiny then. When she saw the platter of cookies, her eyes went wide. She giggled and pointed, saying, Witch fingers! It was such a sweet moment. She still talks about them today.
That memory really stuck with me. It showed me how a simple, fun treat can create lasting memories. Here at 911Recipes, we believe in that magic. These Witch Finger Cookies are a perfect example. They bring a little bit of spooky joy to your kitchen. Let s get baking!
Why You ll Love These Witch Finger Cookies
I genuinely believe these cookies are a must-make for Halloween. They are not just any treat. They bring so much fun to any spooky celebration. It s truly amazing how a simple cookie can transform into something so delightfully eerie. Plus, they taste absolutely delicious. You get that perfect balance of sweetness and a hint of almond. They are a real crowd-pleaser, guaranteed!
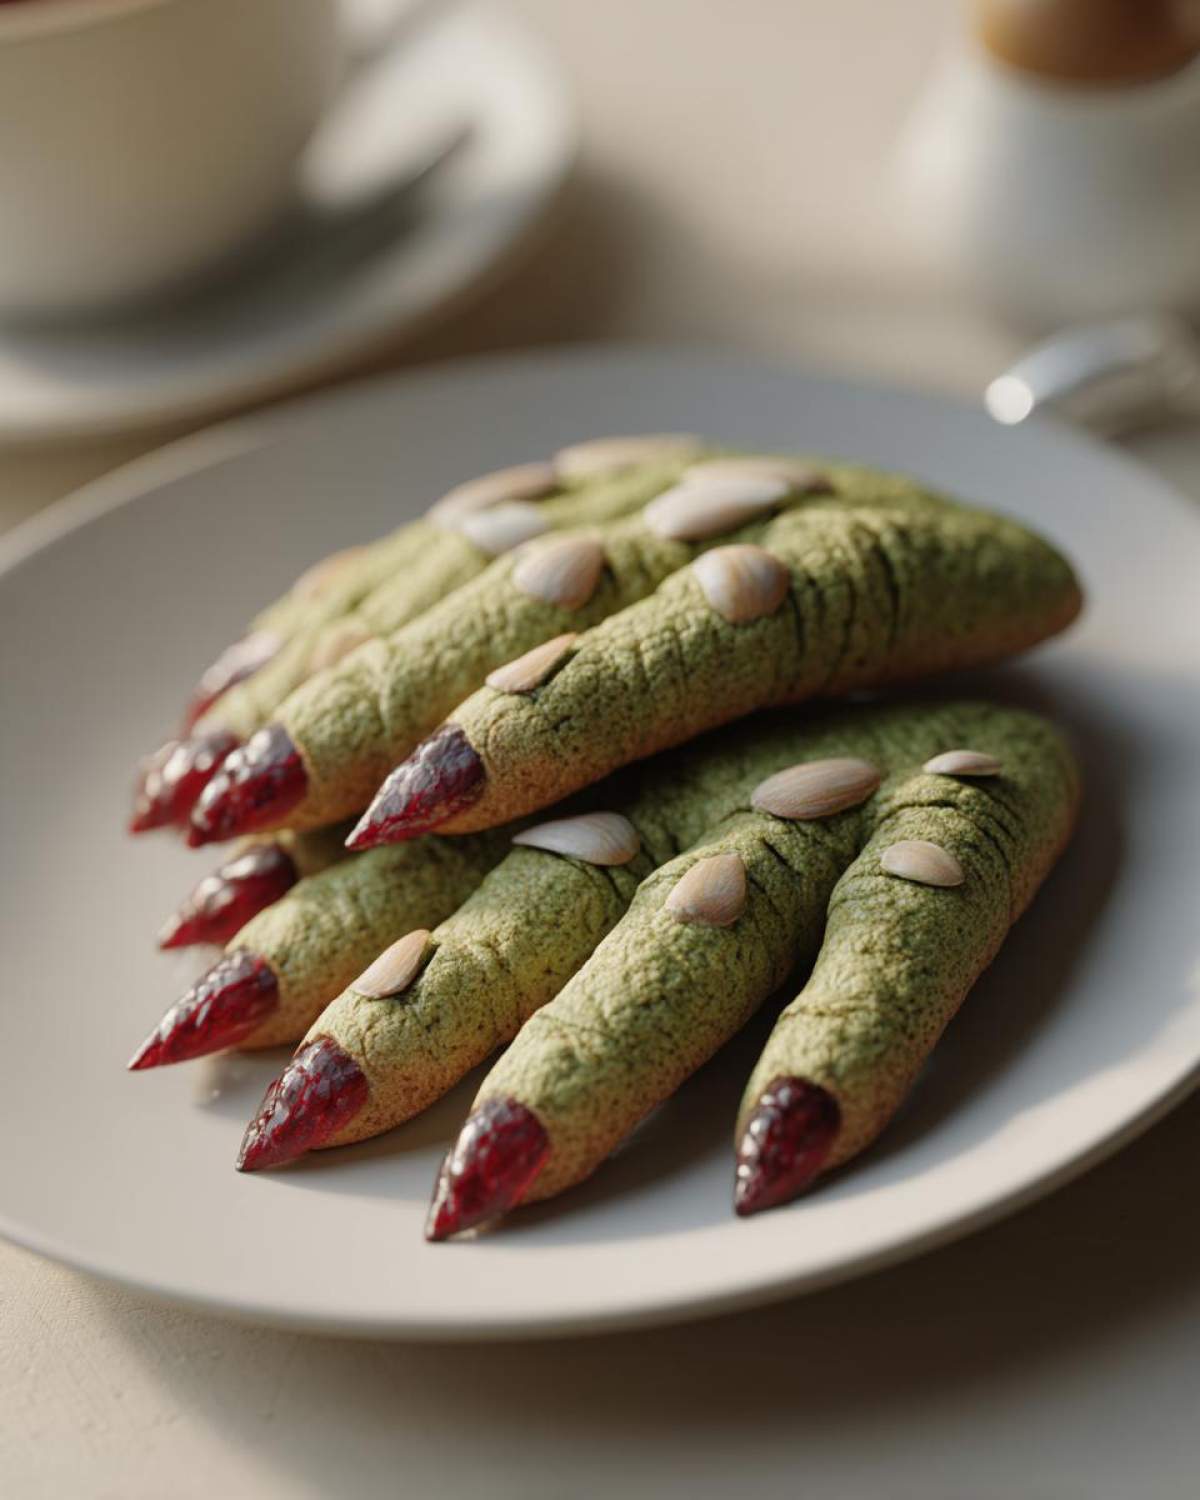
The Spooky Appeal of Witch Finger Cookies
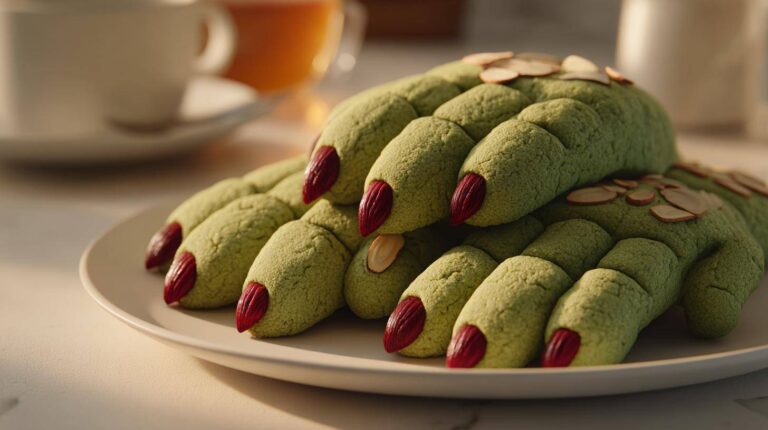
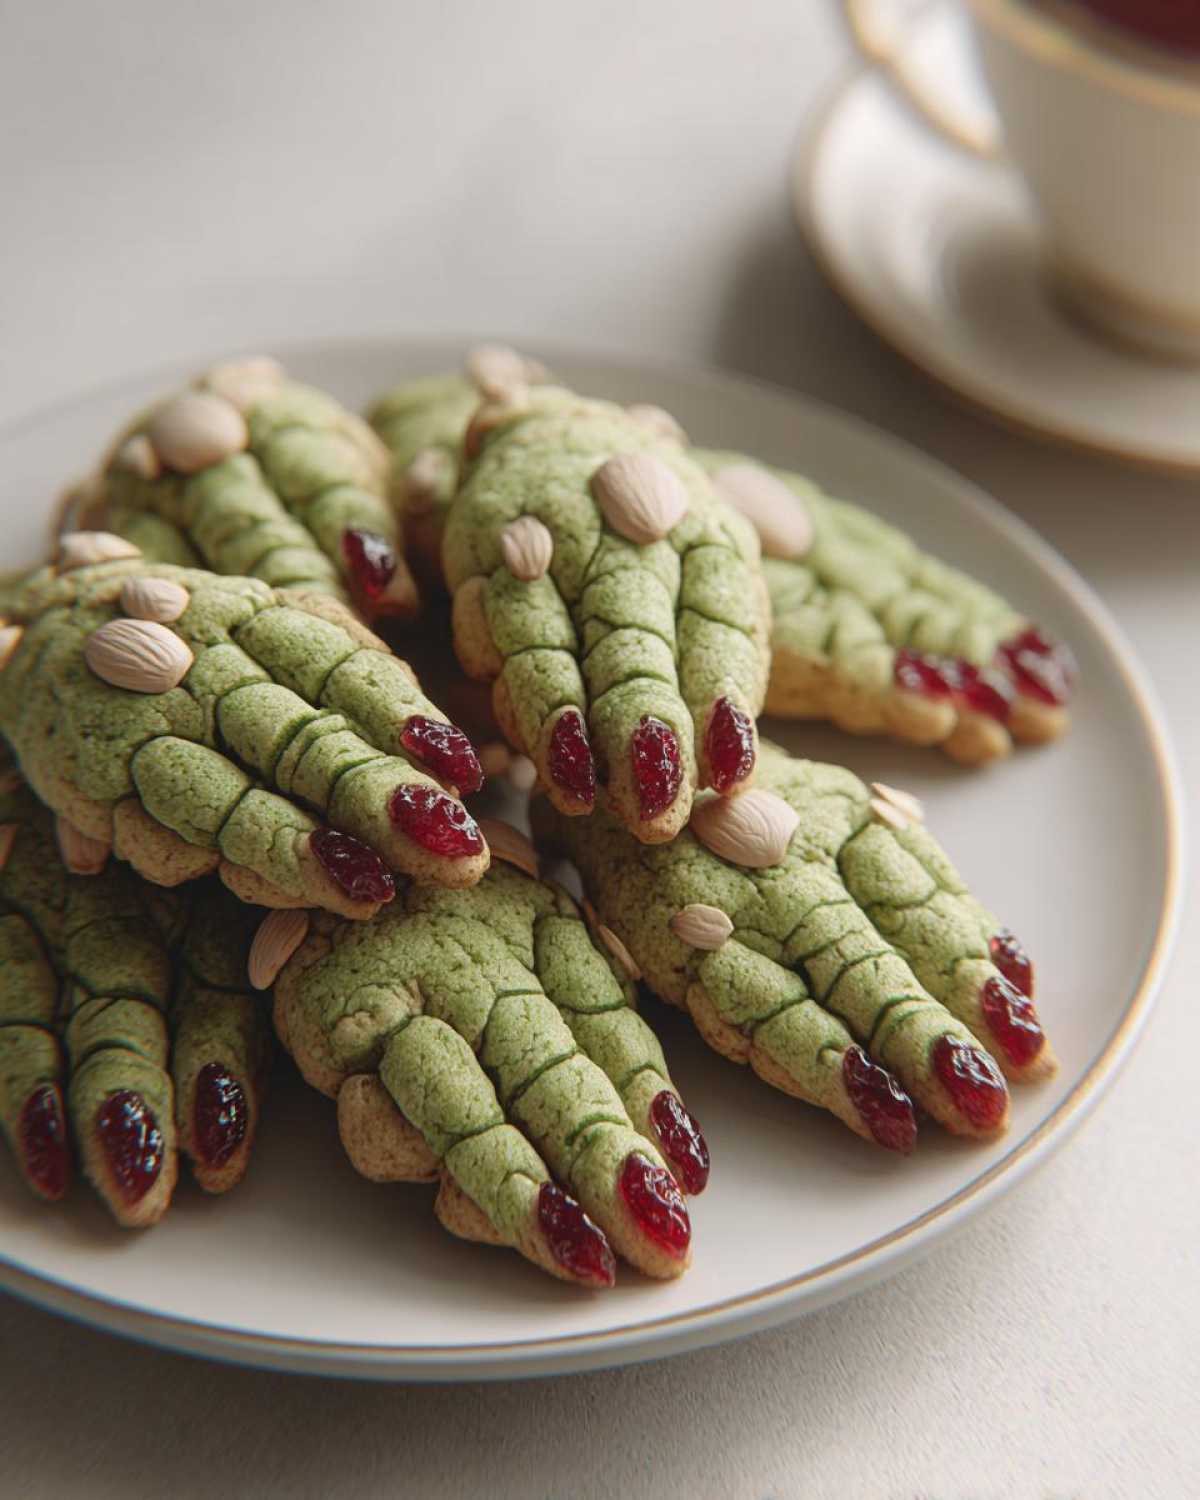
These Witch Finger Cookies are a showstopper. Their gnarled appearance and bloody details are perfectly spooky. They always get gasps and giggles from everyone. Kids and adults alike just love how creepy-cool they look. It truly adds to the Halloween spirit.
Simple Steps for Spooky Witch Finger Cookies
Don t let their creepy look fool you. Making these Witch Finger Cookies is super easy. The steps are straightforward and simple to follow. Even if you re new to baking, you ll have no trouble. I promise. You ll be amazed at what you can create!
Gather Your Ingredients for Witch Finger Cookies
Ready to create some spooky magic? Here s what you ll need from your pantry. I always make sure I have softened unsalted butter on hand. It truly makes a difference. You ll also need a large egg and blanched almonds for those eerie fingernails. And for the blood, grab some raspberry jam or red gel icing.
Crafting Your Witch Finger Cookies
Now for the fun part: making these spooky treats! Don t worry, I ll walk you through each step. It s simpler than you think. You ll have a platter of eerie delights in no time. Just follow along with me.
Preparing the Dough for Witch Finger Cookies
First, grab a large bowl. Cream together your softened butter and powdered sugar. Beat them until they re light and fluffy. This makes your cookies tender. Next, add the egg, vanilla, and almond extracts. Mix them in until everything is well combined. In a separate bowl, whisk your flour, baking powder, and salt. Now, slowly add the dry mix to your wet ingredients. Mix until just combined. If you want green fingers, add a few drops of green food coloring. Mix until the color is even. Divide the dough into two discs. Wrap them in plastic. Pop them in the fridge for at least 30 minutes. This chilling step is important. It makes the dough easier to handle.
Shaping and Decorating Witch Finger Cookies
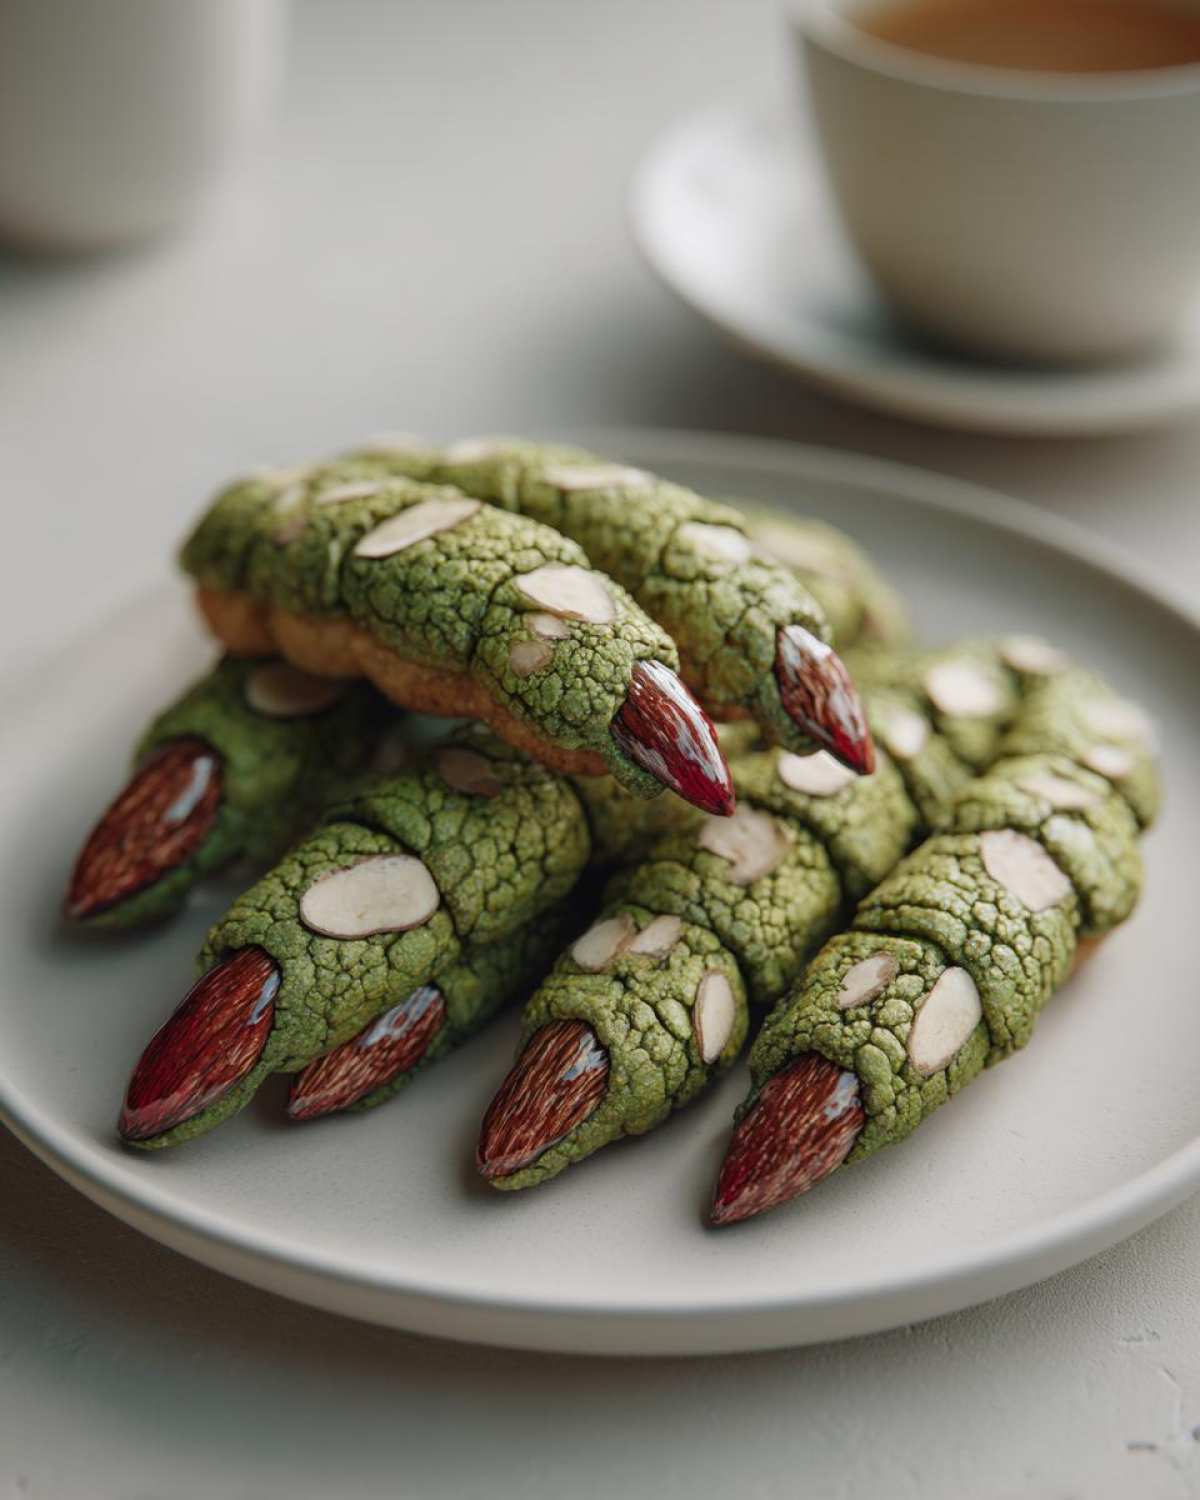
Once your dough is chilled, preheat your oven to 350 °F (175 °C). Line some baking sheets with parchment paper. Take one dough disc from the fridge. Grab about a tablespoon of dough. Roll it into a finger shape. Aim for 3-4 inches long. Make one end a bit wider for the knuckle. Use a knife to make small lines for the knuckles. This gives them a gnarled look. Press a blanched almond firmly onto one end for the fingernail. If it doesn t stick, a tiny dab of jam helps. Repeat with the rest of the dough. Place your shaped cookies on the prepared baking sheets. Give them a little space. You can even bend some for extra crookedness. This adds to the spooky effect!
Baking and Finishing Witch Finger Cookies
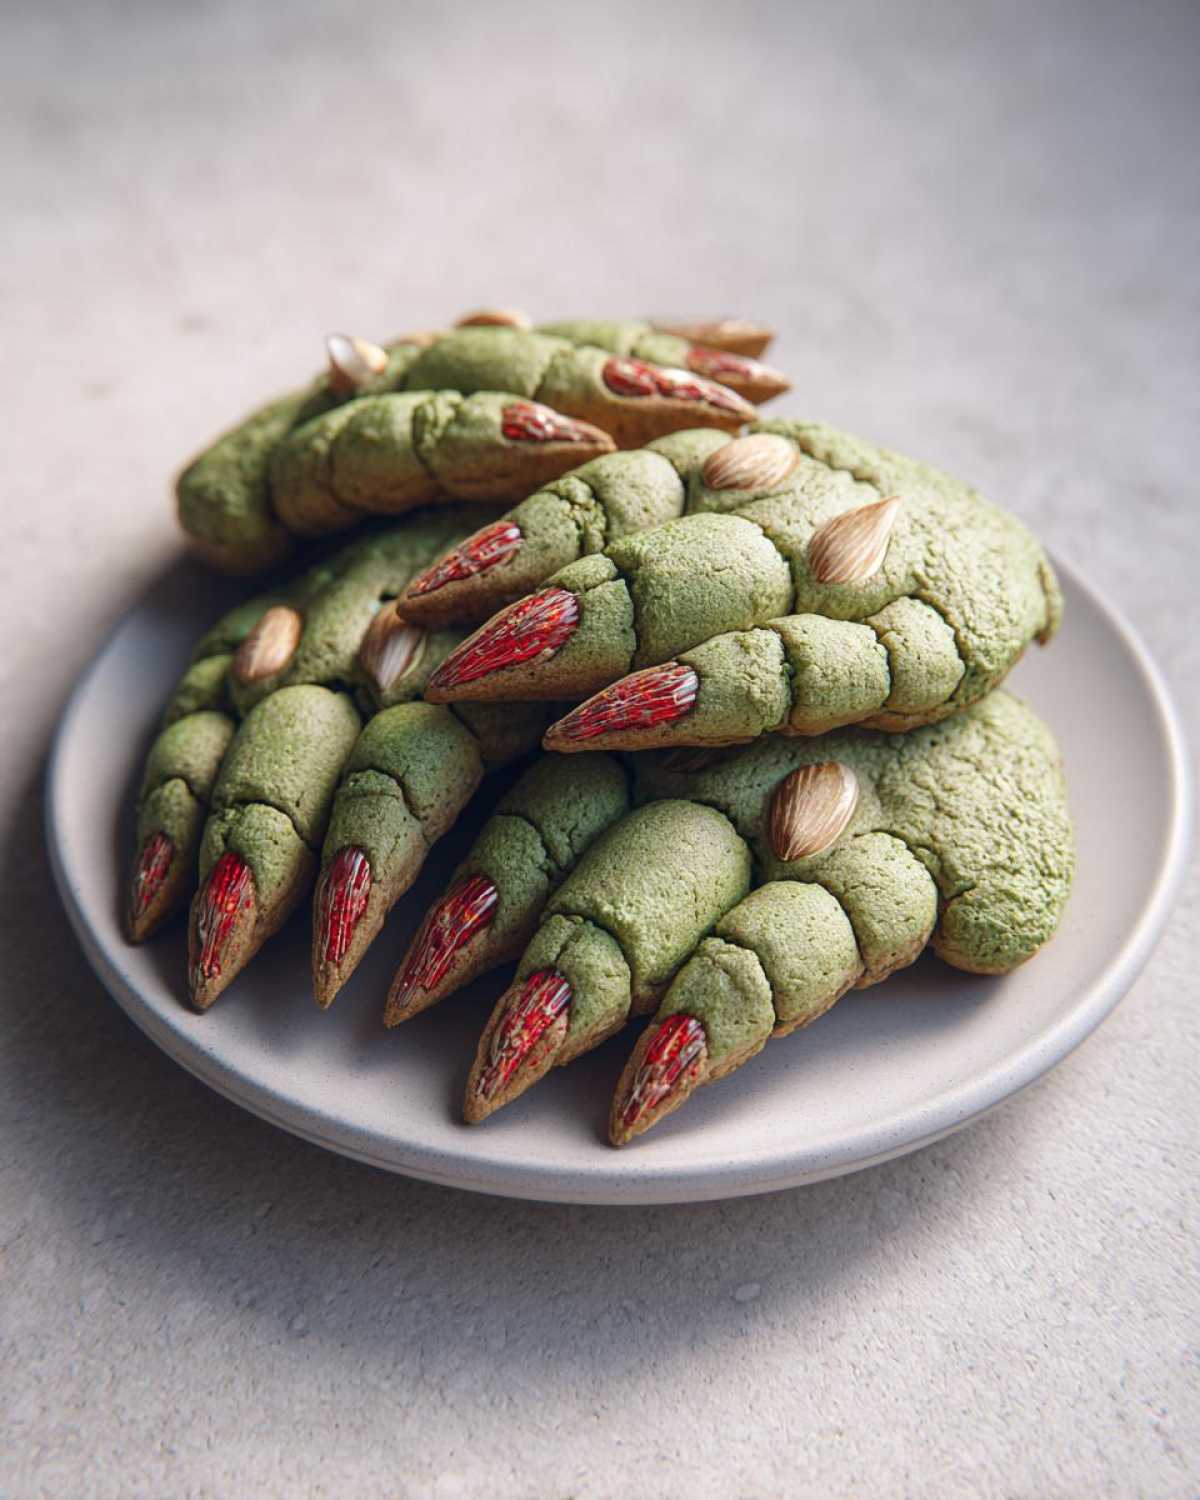
Bake your Witch Finger Cookies for 10-12 minutes. Look for lightly golden edges. Every oven is different, so keep an eye on them. Once baked, remove them from the oven. Let them cool on the baking sheets for a few minutes. Then, transfer them to a wire rack. Let them cool completely. This is key! Don t rush this part. When they are totally cool, it s time for the blood. Gently lift the almond fingernail. Dab a small amount of raspberry jam or red gel icing underneath. It creates a truly gruesome effect. Replace the almond. Now, your spooky creations are ready to scare and delight!
Essential Equipment for Witch Finger Cookies
You don t need fancy gadgets for these cookies. I use my trusty mixing bowls for combining ingredients. Baking sheets, lined with parchment paper, are a must. They prevent sticking and make cleanup easy. A good knife helps create those creepy knuckle lines. These simple tools are all you need. They help make sure your Witch Finger Cookies turn out perfectly spooky.
Expert Tips for Perfect Witch Finger Cookies
I ve made these Witch Finger Cookies countless times. I ve picked up a few tricks along the way. First, your dough consistency is key. If it s too sticky, add a little more flour. If it s too dry, a tiny bit of milk helps. Chilling the dough really makes shaping easier. It prevents spreading during baking. For realistic fingers, vary the thickness. Make some short, some long. You can even bend them slightly before baking. This creates that wonderfully gnarled look.
To ensure those almond fingernails stay put, press them in firmly. A tiny dab of jam or corn syrup under the almond before baking also works wonders. For the bloody effect, don t be shy with the jam. Raspberry jam works perfectly. Its color and texture are just right. Apply it after the cookies are completely cool. This prevents it from soaking into the cookie. These small details really elevate your spooky creations!
Common Questions About Witch Finger Cookies
Can I Make Witch Finger Cookies Ahead of Time?
Absolutely! You can prepare the dough for your Witch Finger Cookies up to two days in advance. Just keep it wrapped tightly in the fridge. This makes Halloween baking super convenient. You can also bake the cookies fully. Store them un-jammed. Add the blood right before serving for the freshest look.
How Do I Store Leftover Witch Finger Cookies?
Store your Witch Finger Cookies in an airtight container. Keep them at room temperature for up to 3-4 days. If you ve added the jam, they might get a little soft. For longer storage, you can freeze them un-jammed for up to a month. Just thaw and add the jam when you re ready.
What Can I Substitute for the Almond Fingernails in Witch Finger Cookies?
If almonds aren t your thing, no worries! You have options for your Witch Finger Cookies. Try using sunflower seeds for a nut-free version. You could also use candy corn for a pop of color. Or even a small piece of a chocolate-covered raisin. Get creative with your spooky nails!
Understanding the Nutrition of Your Witch Finger Cookies
I know many of you are curious about nutritional values. Please remember that the exact nutrition for your Witch Finger Cookies can vary. It depends on the specific brands of ingredients you choose. I haven t provided precise calculations here. This is because values like calories and sugar change. My focus is on sharing delicious, fun recipes. Enjoy these spooky treats!
Share Your Spooky Witch Finger Cookies!
I hope you had as much fun making these Witch Finger Cookies as I do! I truly love seeing your creations. Please share your spooky masterpieces with us! Tag us on social media. Leave a comment below, too. I want to hear about your baking adventures. Did you add any extra ghoulish touches? Your feedback means the world to me. And don t forget to rate the recipe. Happy haunting, and happy baking!